Simple iPhone Tutorial (Part 2)
In Part 1, we have created a tutorial project, initialized the main screen with 2 tabs, and have attached a custom table view for the first tab. In Part 2, we are going to add a custom form view for the second tab.
5. Adding Child View For Second Tab
The second tab view will be a form-based view. If you are familiar with Visual Basic, you may have "played" around with the VIsual Basic controls by dragging-dropping the controls on the forms and position them according to your needs.
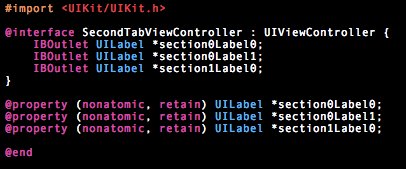
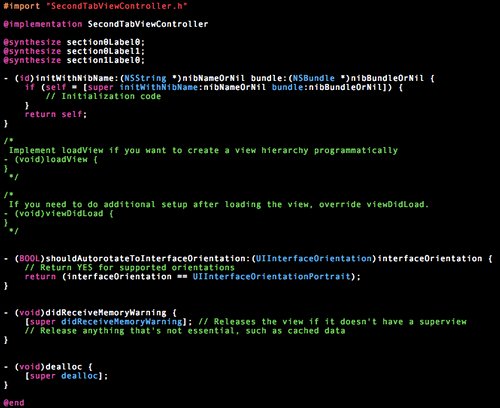
In XCode, create new file called SecondTabViewController using the UIViewController template. We will add 3 UILabel variables.
SecondTabViewController.h
SecondTabViewController.m
Now, create a xib file called SecondTabView using the View template.
Open the SecondTabView.xib file through Interface Builder. Drag and drop a Navigation Bar Drag and drop 3 Label (it's under Library > Cocoa Touch Plugin > Input & Values) to the View object. You can create some names for these labels--I'm using Section 0 Label 0, Section 0 Label 1 and Section 1 Label 0 so that they match closely to the variable names that we are going to connect to in SecondTabViewController class later on. These names are only for reference within the Interface Builder and do not affect your XCode.
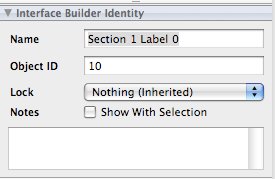
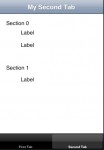
I have added another 2 more labels to indicate the section "headers". Your second tab view will look something like the screenshot below (click to enlarge).
Now, to link up all the objects in the Interface Builder.
- Open up the Identity Inspector. Click on File's Owner and set Class Identity to SecondTabViewController.
- Connect the New Referencing Outlet in View object to the view outlet in File's Owner.
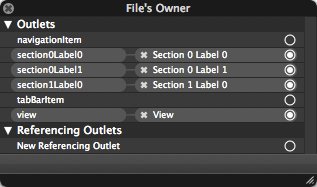
- For each of the named labels (Section 0 Label 0, etc), connect the New Referencing Outlet in each label to their corresponding outlet in File's Owner. For example, Section 0 Label 0 connects to section0label0.
After your have done the above connections, the black window for File's Owner should look something like the following:
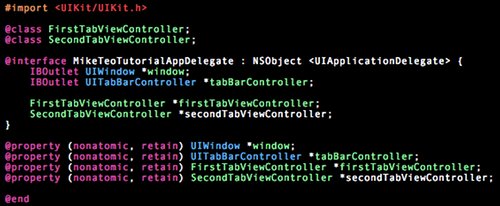
Now, we will add in SecondTabViewController class to MikeTeoTutorialAppDelegate.
MikeTeoTutorialAppDelegate.h
MikeTeoTutorialAppDelegate.m
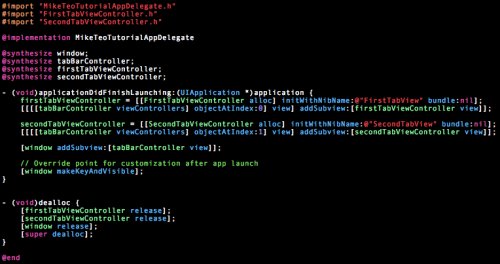
Build and run. You will see that both tabs are working and the second tab's view contains the labels that you have created (click to enlarge).
6. Generating Custom Table Cells
The table view in the first tab is uninterested as it only displays static information. Most iPhone applications are interactive. We shall customize our own table cells to create on/off switch controls and a slider control.
In your XCode, create a new file called OnOffTableCell from the UITableViewCell template. Add in a UILabel variable and a UISwitch variable. Within the OnOffTableCell implementation, we initialize these two variables and hard-coded their position relative to the cell boundary.
OnOffTableCell.h

OnOffTableCell.m
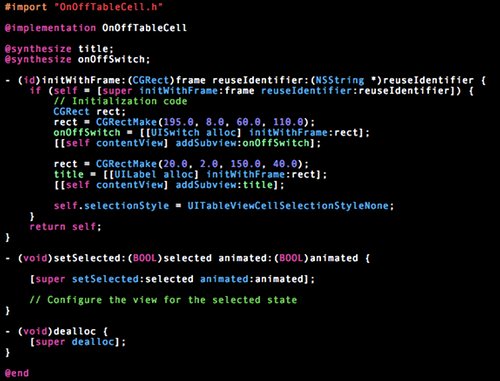
Now, we can create another new file called SliderTableCell from the UITableViewCell template. This class will only have an UISlider control in the cell.
SliderTableCell.h

SliderTableCell.m
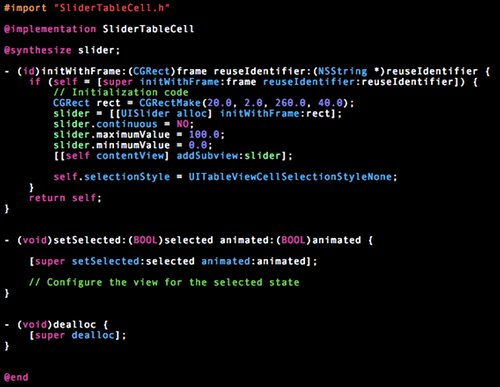
Once the table cell classes have been defined, we shall proceed to use these two classes for our table in the first tab view. Import both the OnOffTableCell.h and SliderTableCell.h into the FirstTabViewController.m like this:
![]()
Modify the (UITableViewCell *)tableView:(UITableView *)tableView cellForRowAtIndexPath:(NSIndexPath *)indexPath method in FirstTabViewController.m to return OnOffTableCell instance for section 0 (first section) and SliderTableCell instance for section 1 (second section).

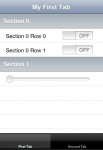
Build and run. Your first tab view will now look this:
As an additional "candy", open the FirstTabView.xib in your Interface Builder. Open the Attribute Inspector (Tools >Attribute Inspector). Click on the Table View object. You should see Table View style being set to Indexed. Change this to Grouped and save.
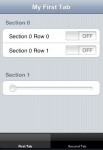
Rebuild your application. You will see that the table view in the first tab now looks like this:
So far, we have successfully attached two views to a tab control view and use custom table cells to encapsulate a slider and an on/off switch control in the first tab's table view. In the next part, we will programmatically add action handlers to the UISlider and UISwitch controls that have been used in the custom table cells to capture user interactions, and to send their values to the UILabels that have been connected in the second tab view.


